部署流程
目录
【注意】
这里我并未使用 Docker 部署,因为个人服务器扛不住。😅
一、使用的服务
- Nginx:方向代理到对应的服务(
webserver、webhook server、websocket server、static page) - Hyperf:WebServer 和 WebSocket 支持。
- Hyperf-Nano:WebHook Server (CI/CD)支持。
- Vuepress:文档支持 (并未在服务器进行托管)。
- OSS:静态文档托管。
- Systemctl:系统服务管理。
- Supervisorctl:业务服务管理。
- Mysql:关系型数据库。
- Redis:缓存驱动、队列驱动、系统配置存储。
二、Hyperf 部署
环境要求
- Hyperf: Hyperf v3.x
- PHP: PHP v8.x、Swoole v5.x、Redis v5.x
PHP 其他扩展按需加载即可。
2-1、Supervisorctl 管理 Hyperf 启停
配置文件
/etc/supervisor/conf.d/hyperf.conf
# 新建一个应用并设置一个名称,这里设置为 hyperf
[program:hyperf]
# 设置命令在指定的目录内执行
directory=/your/path/hyperf-v3
# 这里为您要管理的项目的启动命令
command=php ./bin/hyperf.php start
# 以哪个用户来运行该进程
user=root
# supervisor 启动时自动该应用
autostart=true
# 进程退出后自动重启进程
autorestart=true
# 进程持续运行多久才认为是启动成功
startsecs=1
# 重试次数
startretries=3
# stderr 日志输出位置
stderr_logfile=/your/path/hyperf-v3/runtime/stderr.log
# stdout 日志输出位置
stdout_logfile=/your/path/hyperf-v3/runtime/stdout.log
启停服务
启动 Hyperf
supervisorctl start hyperf
重启 Hyperf
supervisorctl restart hyperf
停止 Hyperf
supervisorctl stop hyperf
查看 Hyperf 状态
supervisorctl status hyperf
2-2、Systemctl 管理 Nginx 启停
为什么不使用 Supervisorctl 管理 Nginx ?
我认为Nginx是系统级别的组件,应该由 Systemctl 管理。当然你也可以无脑 Supervisorctl 管理你的所有组件。
配置文件
/lib/systemd/system/nginx.service
# Stop dance for nginx
# =======================
#
# ExecStop sends SIGSTOP (graceful stop) to the nginx process.
# If, after 5s (--retry QUIT/5) nginx is still running, systemd takes control
# and sends SIGTERM (fast shutdown) to the main process.
# After another 5s (TimeoutStopSec=5), and if nginx is alive, systemd sends
# SIGKILL to all the remaining processes in the process group (KillMode=mixed).
#
# nginx signals reference doc:
# http://nginx.org/en/docs/control.html
#
[Unit]
Description=A high performance web server and a reverse proxy server
Documentation=man:nginx(8)
After=network.target nss-lookup.target

[Service]
Type=forking
PIDFile=/run/nginx.pid
ExecStartPre=/usr/sbin/nginx -t -q -g 'daemon on; master_process on;'
ExecStart=/usr/sbin/nginx -g 'daemon on; master_process on;'
ExecReload=/usr/sbin/nginx -g 'daemon on; master_process on;' -s reload
ExecStop=-/sbin/start-stop-daemon --quiet --stop --retry QUIT/5 --pidfile /run/nginx.pid
TimeoutStopSec=5
KillMode=mixed

[Install]
WantedBy=multi-user.target
启停服务
启动 Nginx
systemctl start nginx.service
重启 Nginx
systemctl restart nginx.service
停止 Nginx
systemctl stop nginx.service
查看 Nginx 状态
systemctl status nginx.service
2-3、Systemctl 管理 Supervisorctl 启停
配置文件
/lib/systemd/system/supervisor.service
[Unit]
Description=Supervisor process control system for UNIX
Documentation=http://supervisord.org
After=network.target

[Service]
ExecStart=/usr/bin/supervisord -n -c /etc/supervisor/supervisord.conf
ExecStop=/usr/bin/supervisorctl $OPTIONS shutdown
ExecReload=/usr/bin/supervisorctl -c /etc/supervisor/supervisord.conf $OPTIONS reload
KillMode=process
Restart=on-failure
RestartSec=50s

[Install]
启停服务
启动 Supervisor
systemctl start supervisor.service
重启 Supervisor
systemctl restart supervisor.service
停止 Supervisor
systemctl stop supervisor.service
查看 Supervisor 状态
systemctl status supervisor.service
2-4、反向代理
nginx 配置
upstream hyperf {
    # Hyperf HTTP Server 的 IP 及 端口
    server 127.0.0.1:9501;
}

server {
    # 监听端口
    listen 80;
    listen 443 ssl;

    # ssl on;
    # 绑定的域名,填写您的域名
    server_name api.domain.com;

    ssl_certificate /your/path/hyperf-v3/api.domain.com.pem;
    ssl_certificate_key /your/path/hyperf-v3/api.domain.com.key;
    ssl_protocols TLSv1 TLSv1.1 TLSv1.2 TLSv1.3;
    ssl_ciphers ECDHE-RSA-AES128-GCM-SHA256:ECDHE:ECDH:AES:HIGH:!NULL:!aNULL:!MD5:!ADH:!RC4;
    ssl_prefer_server_ciphers on;

    # webhook 服务
    location /webhook/ {
        # 将客户端的 Host 和 IP 信息一并转发到对应节点
        proxy_set_header Host $http_host;
        proxy_set_header X-Real-IP $remote_addr;
        proxy_set_header X-Forwarded-For $proxy_add_x_forwarded_for;

        # 执行代理访问真实服务器
        proxy_pass http://127.0.0.1:9601;
    }

    # 静态文档(API静态文档)
    location /swagger/ {
    	root /your/path/hyperf-v3/;
    }

    # wss服务
    location /wss/ {
    	proxy_set_header Upgrade "websocket";
	    proxy_set_header Connection "upgrade";
	    # proxy_set_header Host $host;
	    proxy_http_version 1.1;
	    proxy_pass http://127.0.0.1:9501;
    }

    # web服务
    location / {
        # 将客户端的 Host 和 IP 信息一并转发到对应节点
        proxy_set_header Host $http_host;
        proxy_set_header X-Real-IP $remote_addr;
        proxy_set_header X-Forwarded-For $proxy_add_x_forwarded_for;

        # 转发Cookie,设置 SameSite
        proxy_cookie_path / "/; secure; HttpOnly; SameSite=strict";

        # 执行代理访问真实服务器
        proxy_pass http://127.0.0.1:9501;
    }
}
三、Webhook 部署
主要作用
当我们提交代码到 github 后,触发 webhook,请求我们服务器的 webhook server 主动拉取代码并重启服务。
3-1、github配置钩子
3-2、钩子服务
目录结构
.
├── composer.json
├── composer.lock
├── stderr.log
├── stdout.log
├── vendor
└── webhook.php

1 directory, 5 files
代码详情
webhook.php
<?php

declare(strict_types=1);

require_once './vendor/autoload.php';

use Hyperf\HttpMessage\Stream\SwooleStream;
use Hyperf\HttpServer\Response;
use Hyperf\Nano\Factory\AppFactory;
use Hyperf\Stringable\Str;

date_default_timezone_set('Asia/Shanghai');

// ---------------------------
// | github webhook server
// ---------------------------

$app = AppFactory::create('0.0.0.0', 9601);
$key = \Hyperf\Support\env('SECRET', 'helloworld');

// github webhook
$app->post('/webhook/github', function () use ($app, $key) {
$response = new Response();
    [$githubEvent, $githubSha1, $githubSha256, $payload, $isUpdateComposer] = [
        $this->request->getHeaderLine('x-github-event'),
        $this->request->getHeaderLine('x-hub-signature'),
        $this->request->getHeaderLine('x-hub-signature-256'),
        $this->request->all(),
        false,
    ];
    // 不是PUSH动作不做处理
    if (strtolower($githubEvent) !== 'push') {
        return $response->withStatus(401)
            ->withHeader('content-type', 'application/json')
            ->withBody(new SwooleStream(json_encode([
                'code'   => 401,
                'msg'    => '非push操作',
                'status' => false,
                'data'   => []
            ], 264 | 64)));
    }

    // 签名错误
    [$signSha1, $signSha256, $githubSha1, $githubSha256] = [
        hash_hmac('sha1', json_encode($payload, 256 | 64), $key, false),
        hash_hmac('sha256', json_encode($payload, 256 | 64), $key, false),
        Str::after($githubSha1, 'sha1='),
        Str::after($githubSha256, 'sha256=')
    ];
    if ($signSha1 !== $githubSha1 || $signSha256 !== $githubSha256) {
        return $response->withStatus(401)
            ->withHeader('content-type', 'application/json')
            ->withBody(new SwooleStream(json_encode([
                'code'   => 401,
                'msg'    => '签名错误',
                'status' => false,
                'data'   => ['signSha1' => $signSha1, 'signSha256' => $signSha256]
            ], 264 | 64)));
    }

    // 变更的文件如果有composer.json 则更新依赖包
    $commits = $payload['commits'];
    foreach ($commits as $commit) {
        if (in_array('composer.json', $commit['modified'])) {
            $isUpdateComposer = true;
        }
    }

    // 执行脚本命令(异步处理)
    Hyperf\Coroutine\Coroutine::create(function () use ($isUpdateComposer) {
    	$command = $isUpdateComposer ?
            "cd /your/path/hyperf-v3 && rm -rf /your/path/hyperf-v3/runtime/container/ && git checkout . && git pull && echo yes | composer update && supervisorctl restart hyperf" :
            "cd /your/path/hyperf-v3 && rm -rf /your/path/hyperf-v3/runtime/container/ && git checkout . && git pull && supervisorctl restart hyperf";
        shell_exec($command);
    });

    return ['code' => 200, 'msg' => 'ok', 'status' => true, 'data' => []];
});

$app->run();
3-3、Supervisorctl 管理 Webhook 启停
配置文件
/etc/supervisor/conf.d/webhook.conf
# 新建一个应用并设置一个名称,这里设置为 webhook
[program:webhook]
# 设置命令在指定的目录内执行
directory=/your/path/hyperf-nano-github-webhook
# 这里为您要管理的项目的启动命令
command=php webhook.php start
# 以哪个用户来运行该进程
user=root
# supervisor 启动时自动该应用
autostart=true
# 进程退出后自动重启进程
autorestart=true
# 进程持续运行多久才认为是启动成功
startsecs=1
# 重试次数
startretries=3
# stderr 日志输出位置
stderr_logfile=/your/path/hyperf-nano-github-webhook/stderr.log
# stdout 日志输出位置
stdout_logfile=/your/path/hyperf-nano-github-webhook/stdout.log
启停服务
启动 Webhook
supervisorctl start webhook
重启 Webhook
supervisorctl restart webhook
停止 Webhook
supervisorctl stop webhook
查看 Webhook 状态
supervisorctl status webhook
四、Wiki 部署
为什么 wiki 不部署在服务器
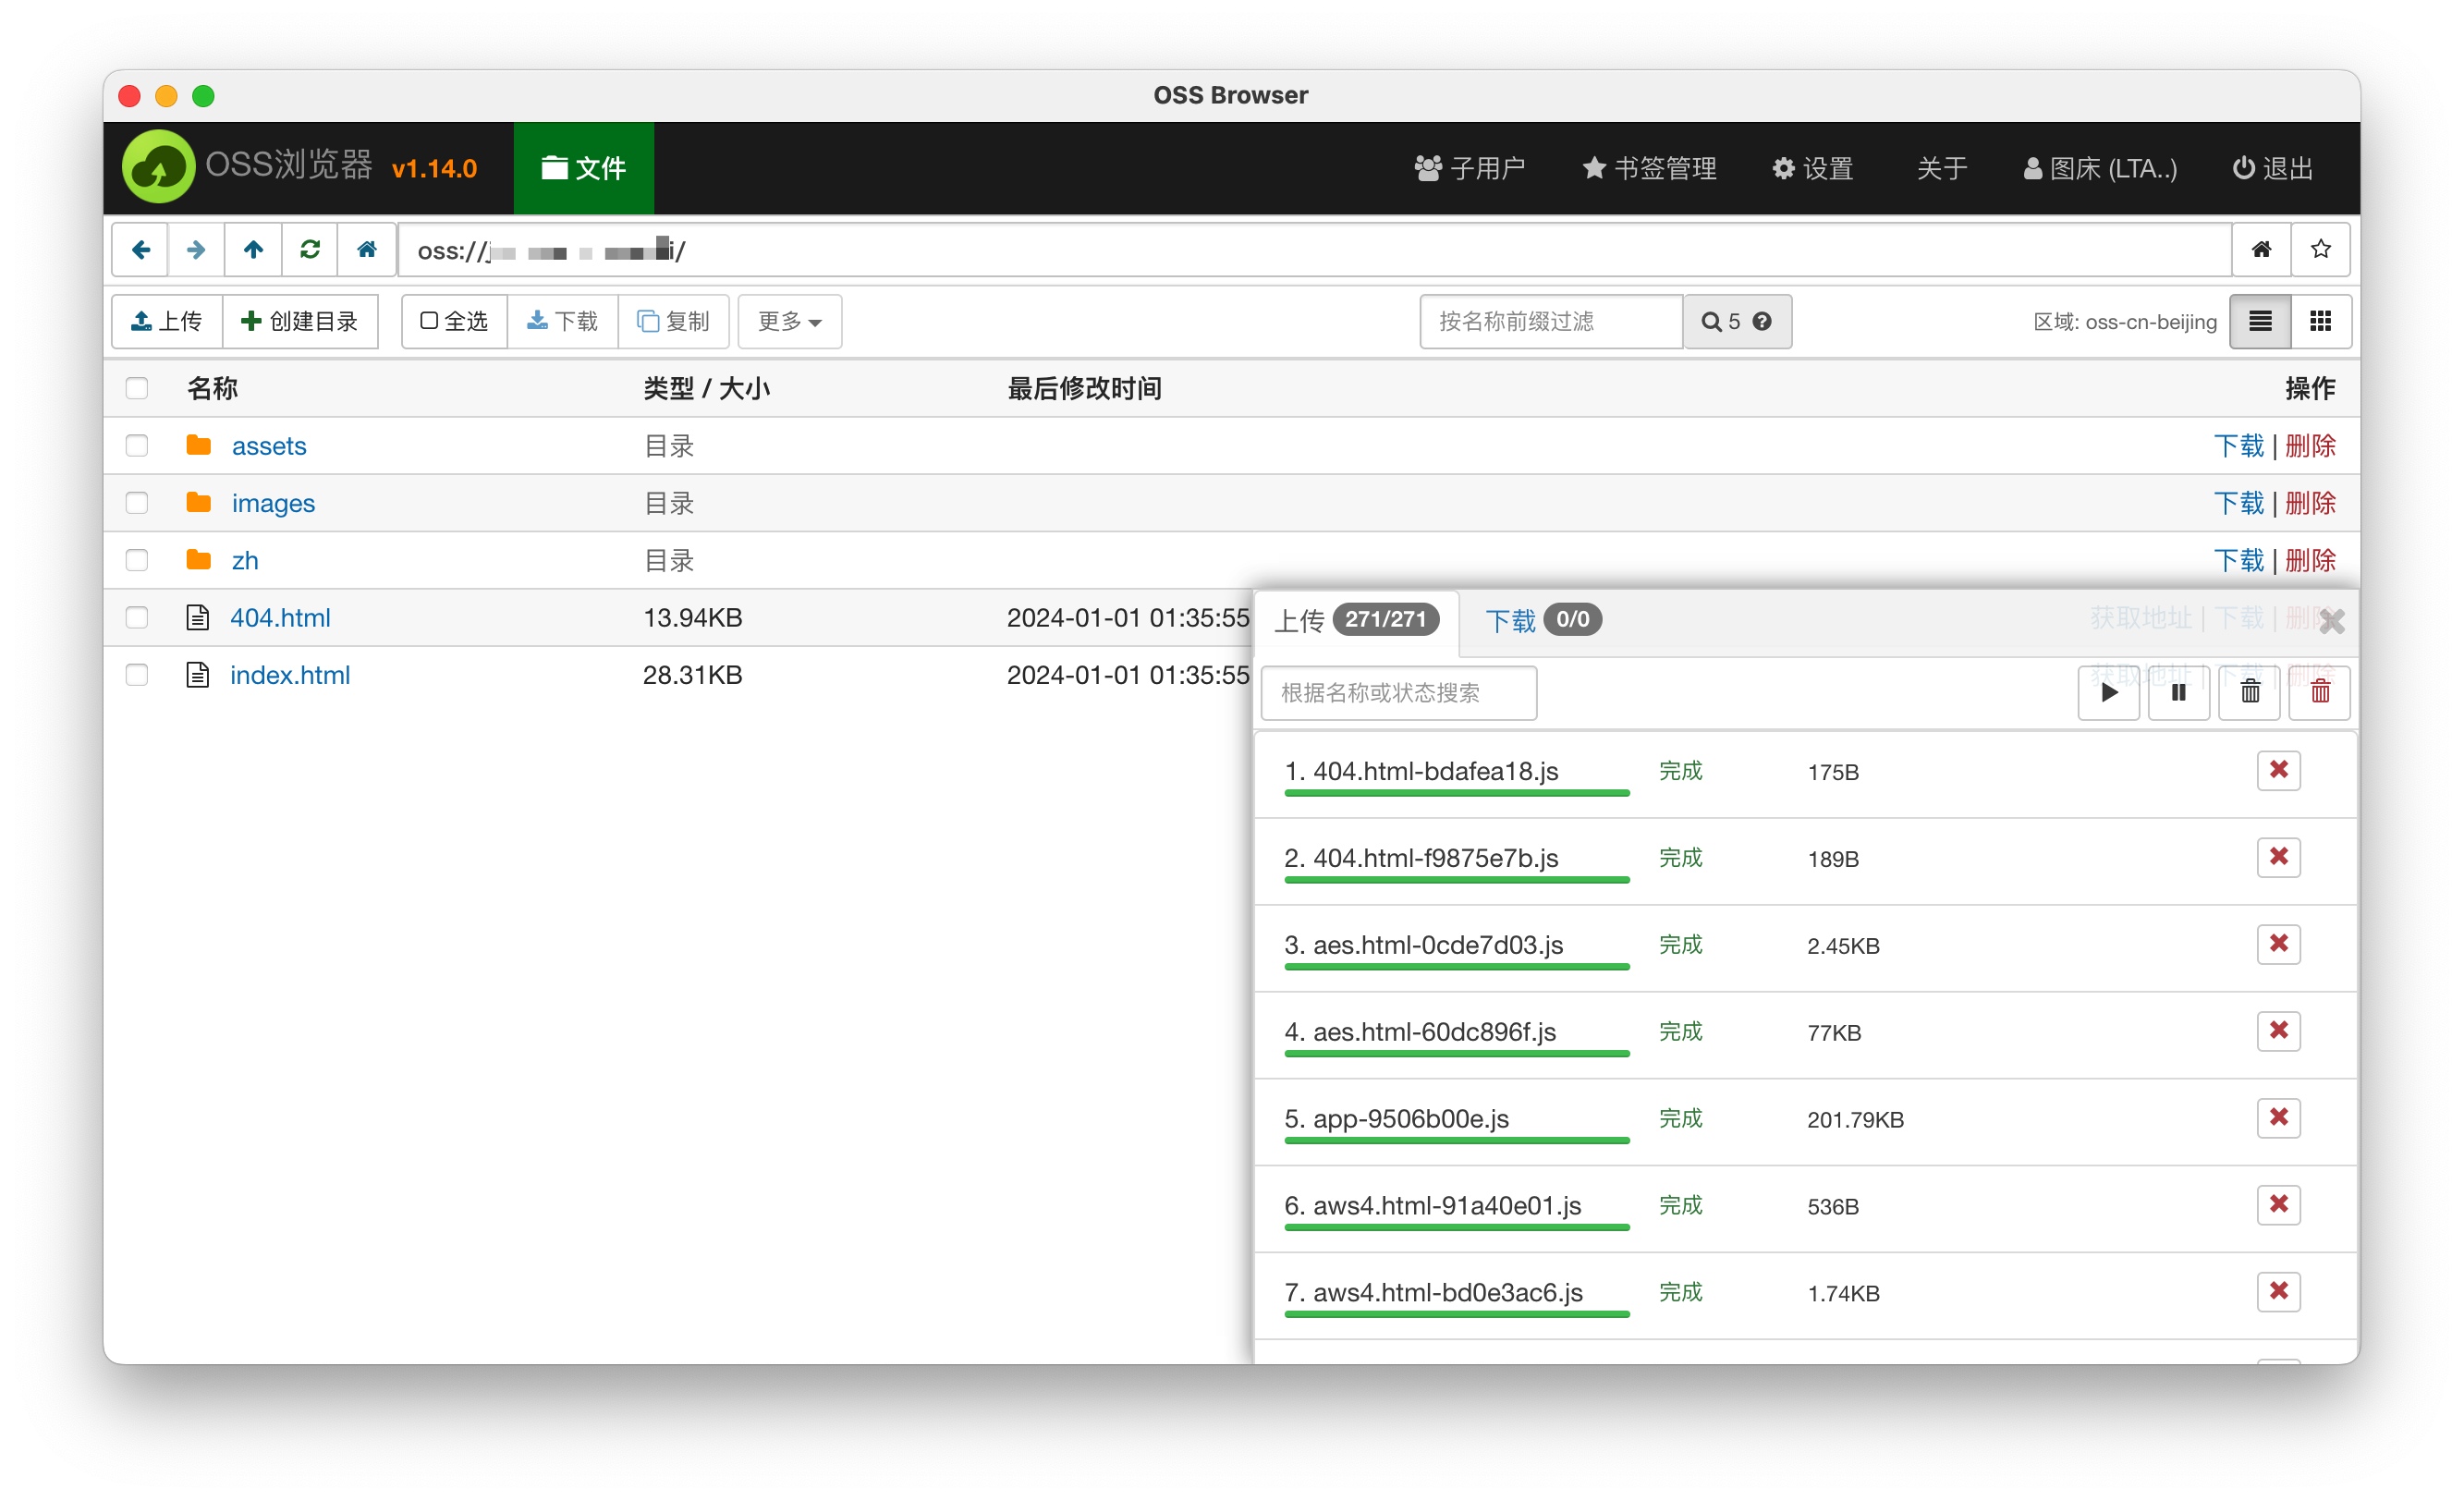
我使用的 OSS 托管静态。因为 Vuepress 打包完是纯静态文件,且 wiki 不需要后端服务,所以 OSS 托管更适合。服务器释放不会影响网站展示。
PS:很多官网其实也是静态托管的。
4-1、网站托管
托管细节不再赘述,参考文档即可。
4-2、发布更新
这里我没有采用CI/CD相关步骤,因为只需要把文件扔到OSS Bucket即可。
本地打包
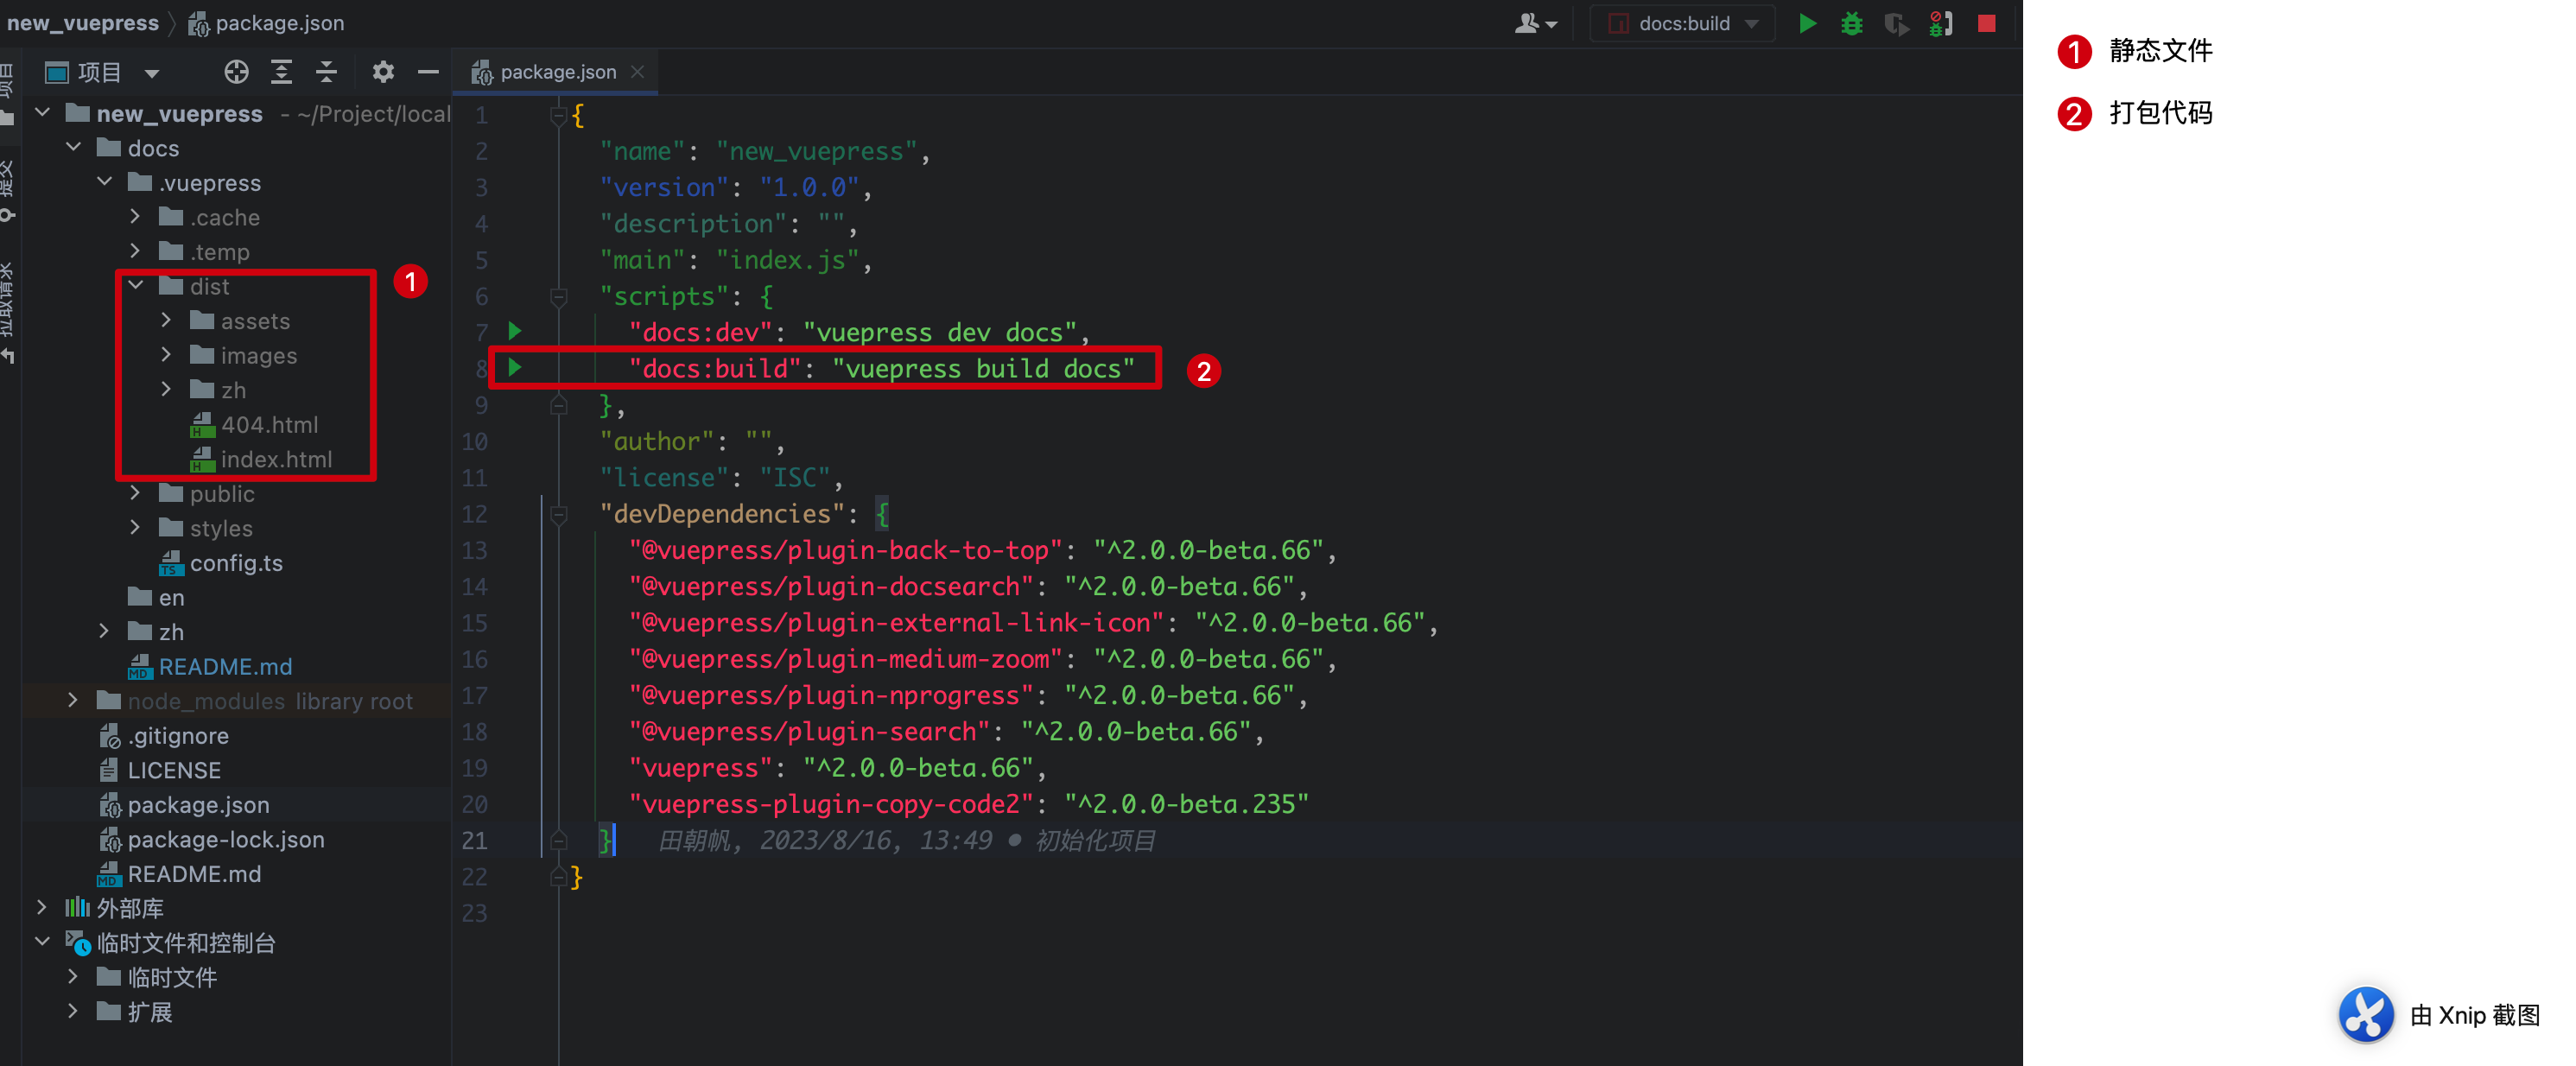
上传OSS